How to Finish a Professional Finish, Step-by-Step
One of the most effective methods of making your kitchen look high-end without having the high-end price is the installation of molding on the cabinets. You can either update old cabinets or install new cabinets; this guide will take you through all you need to know about installing crown molding like a pro.
What is the Purpose of Adding Crown Molding to Cabinets?
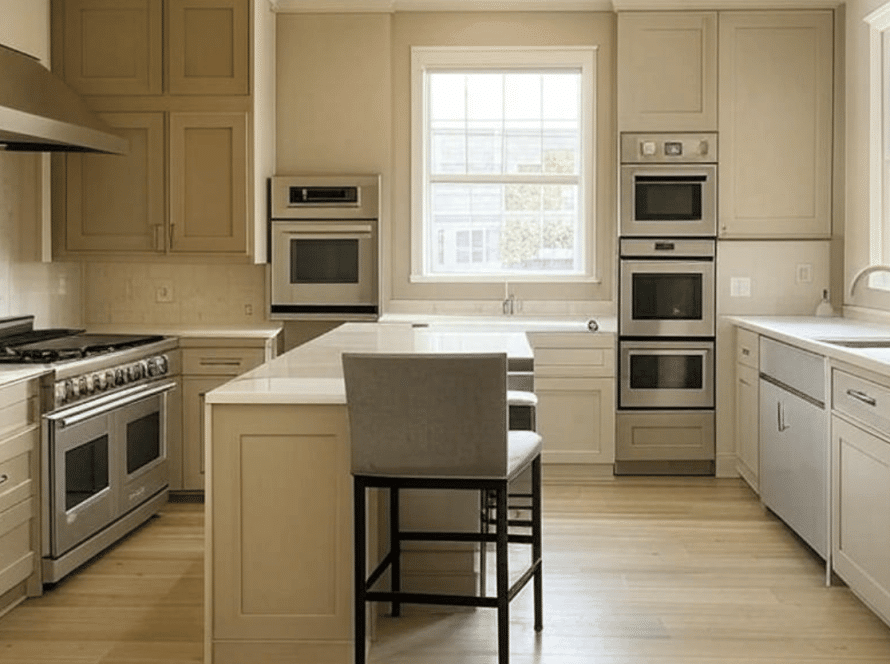
Crown molding is a decorative element placed on the tops of your kitchen cabinets giving them an appearance of increased height, sophistication, and professional construction. It is also useful in concealing the gaps between the cabinets and the ceiling, particularly in old houses where the surface is not even.
Benefits of Crown Molding:
- Raises the level of kitchen appearance
- Adds value to your home
- Customizes stock cabinets
- Covers flaws on upper cabinets
Materials and Equipment Used
The following are the tools and supplies you will need before beginning a project of crown molding:
Tools:
- Miter saw (to make right-angle cuts)
- Nail gun/ hammer and finishing nails
- Measuring tape
- Level
- Wood glue (optional)
- Caulk gun
- Stud finder
- Sandpaper
- Safety glasses
Materials:
- Crown molding (wood or MDF)
- Backer blocks or strips (not obligatory, based on the type of cabinet)
- Wood filler or putty
- Caulk (paintable)
- Paint or stain (to match cabinets)
- Screws (when required by backer blocks)
Step-by-Step Installation Guide
Step 1: Measure and Plan
Begin by determining the length of every run of cabinets that you will be fitting for the molding. Always remember to add several inches on the total amount that you are going to measure to allow you to have miter cuts and errors.
Hint: Draw a plan of your kitchen and mark the areas. This is useful in cutting and sorting pieces.
Step 2: Cut the Molding
The appropriate cuts are to be made with the help of a compound miter saw. Crown molding must be cut in a mitering angle and a beveling angle. These angles will differ with your profile of molding.
The majority of saws have the crown molding angles pre-programmed:
- For inside corners, cut one piece with a square end and cope the other one to fit inside corners
- To make a clean corner, outside corners are mitred at each end (using 45 degree or any angle necessary)
Pro Tip: It is best to cut molding upside down and backwards on the saw, so that it can fit on the cabinet.
Step 3: Pre-Fit the Pieces
Before attaching the cut pieces, dry-fit them on the cabinets. This allows you to check the angles twice and provide minor corrections if necessary.
A level is used to make sure that the molding is flat and straight against the cabinets.
Step 4: Apply Backing Strips
Most crown moldings lack a flat surface where they can be easily nailed to the cabinet. Providing that is the case, affix a backer block or filler strip to the upper edge of the cabinet frame. This provides you with a good foundation on which to nail the molding.
- Wood glue and screws should be used to fix the backer strip
- Ensure that it is flat with the face of the cabinet and level on all units
Step 5: Install the Crown Molding
Apply the molding:
- Begin at one corner and continue straight
- Use wood glue on the backside of the molding
- Use a nail gun or finishing nails to nail it to the backer strip or cabinet frame
- Do not forget to nail at the thickest parts of the molding to prevent splitting

Step 6: Caulk, Fill, and Finish
After the molding is done, complete with the finishing touches.
- Seal up any cracks between the molding and ceiling or cabinet
- Stuff nail holes with wood filler or putty
- Sand it smooth after it dries
- Stain or paint your cabinets
Tips for a Flawless Finish
- Measure twice cut once–more particularly angles
- Inside corners are to be done with coped joints rather than with miter joints; they are more comfortable and conceal flaws
- Cut angles before cutting your molding
- Write the position of each cut piece with painter’s tape to keep track of each piece
- You can prime and paint/stain your molding and install it to save time on finish work
Common Mistakes to Avoid
Crown molding installation can cause problems even for professionals.
The Most Frequent Errors and How to Avoid Them:
Incorrect Angle of Cutting the Molding
Always check the angle settings on your saw twice and if you use a template. Practice on scrap pieces and then make final cuts.
Not Using a Backer Strip
Provided your cabinets do not have a flat surface at the top, a backer strip is required to provide the molding with something to stick to.
Over-Nailing the Molding
An excess of nails may crack or split the molding. Apply enough to fasten it, and take aim at portions of the trim that are thick.
Gaps in Corners
Coped inside corners are tighter and cleaner, and easier to fit. In outside corners, miter angles should be considered.
Skipping Caulk and Filler
Leaving gaps between and filling nail holes will make the job look incomplete. These minor finishing touches are a long way towards a polished professional appearance.